[From the questions: How do you get the stickers straight? What’s the best way to apply stickers? How do I remove stickers if I have made a mistake?]
Applying stickers to LEGO creations whether they are sets or original creations can be rather challenging. Sometimes it doesn’t matter if they are slightly crooked but other times it can ruin the appearance of a model if they are not quite straight.
Once you have applied the stickers, it can be difficult to remove them to reposition them and, sometimes, you still won’t get it correct. Even worse, if the sticker has a clear backing, you may end up with visible fingerprints on the clear part of the sticker.
There is no correct method or way of applying stickers that guarantees they will be always applied straight but there are a couple of techniques that are recommended by seasoned sticker users. These techniques should improve your chances of correctly placing a sticker or easily removing it if you have made a mistake.
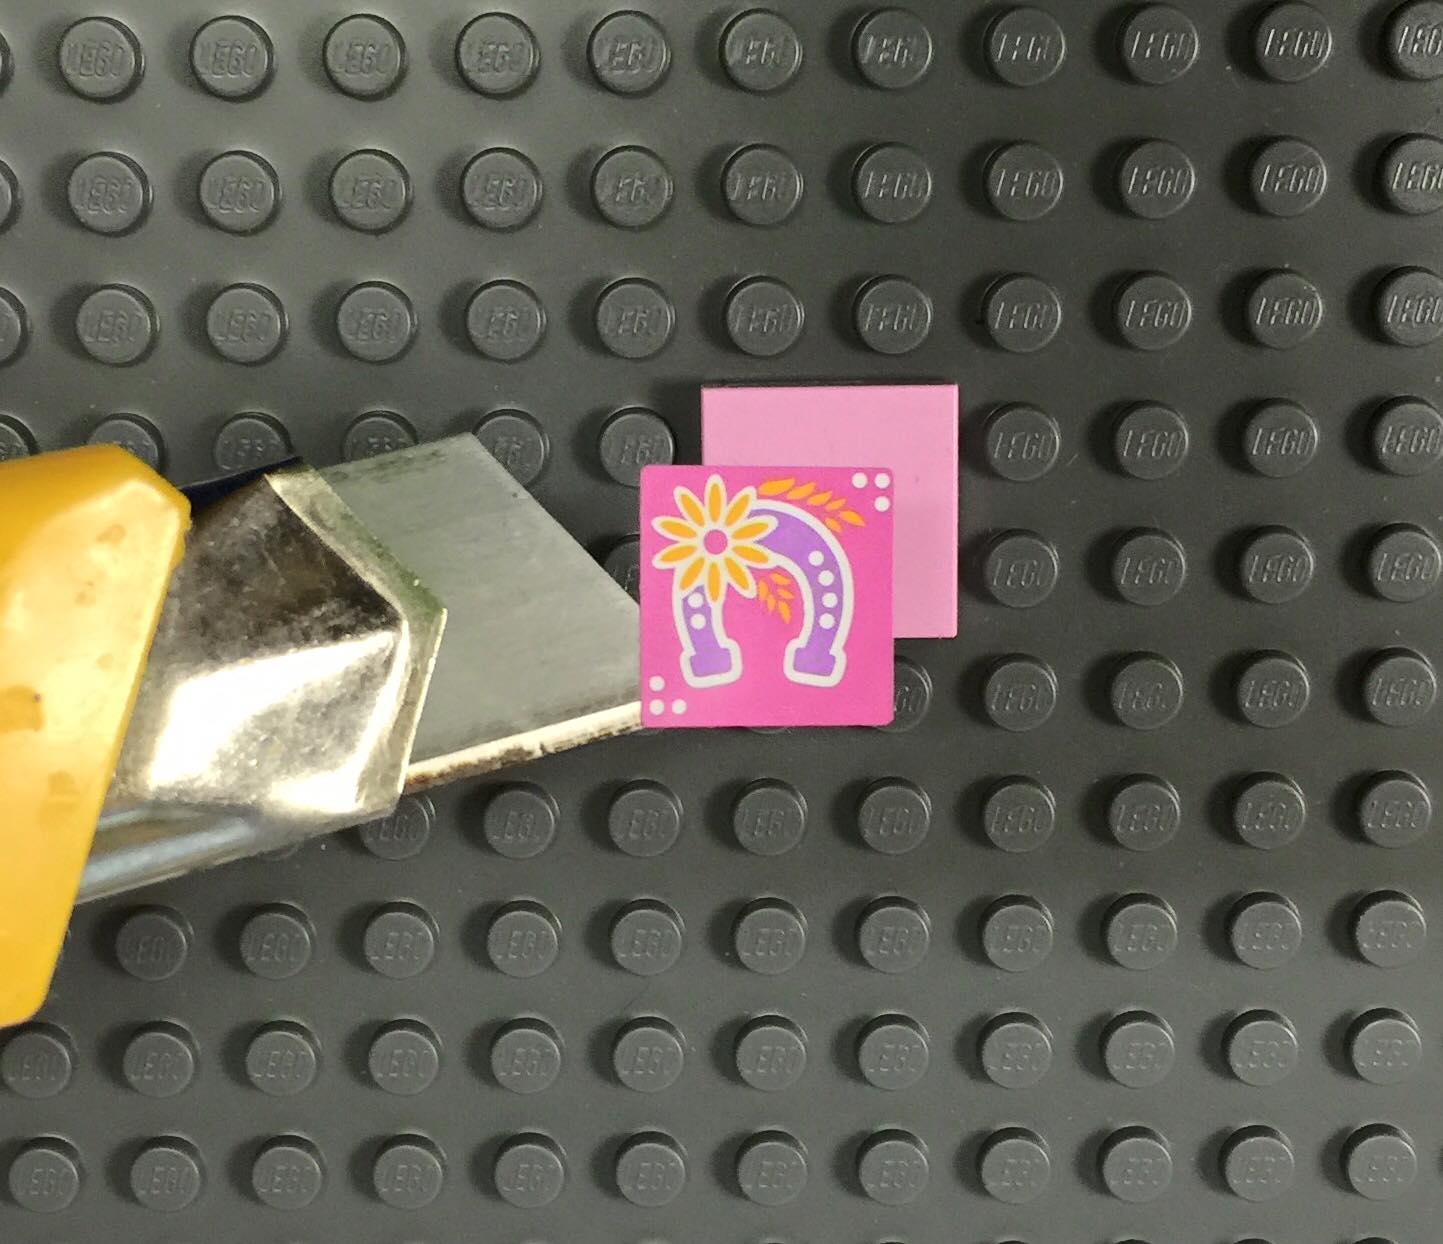
The main key to ensuring sticker success is to use some sort of a tool to which the corner of the sticker can be partially applied. Recommended tools include the edge of the brick separator, the tip of a paper cutter, knife or blade, tweezers, a toothpick or the edge of the original sticker sheet. With each tool only a small part of the sticker is attached so the majority of it can be applied to the LEGO piece. If a mistake is made, the sticker can then be easily be removed from the LEGO piece and reapplied.
Apart from issues with ensuring the sticker is straight, you may also encounter issues with the piece moving as you attempt to apply the sticker. To avoid this, attach the part to be stickered to a larger plate or similar where you can easily hold it in place without your hands being anywhere near the actual LEGO piece.

